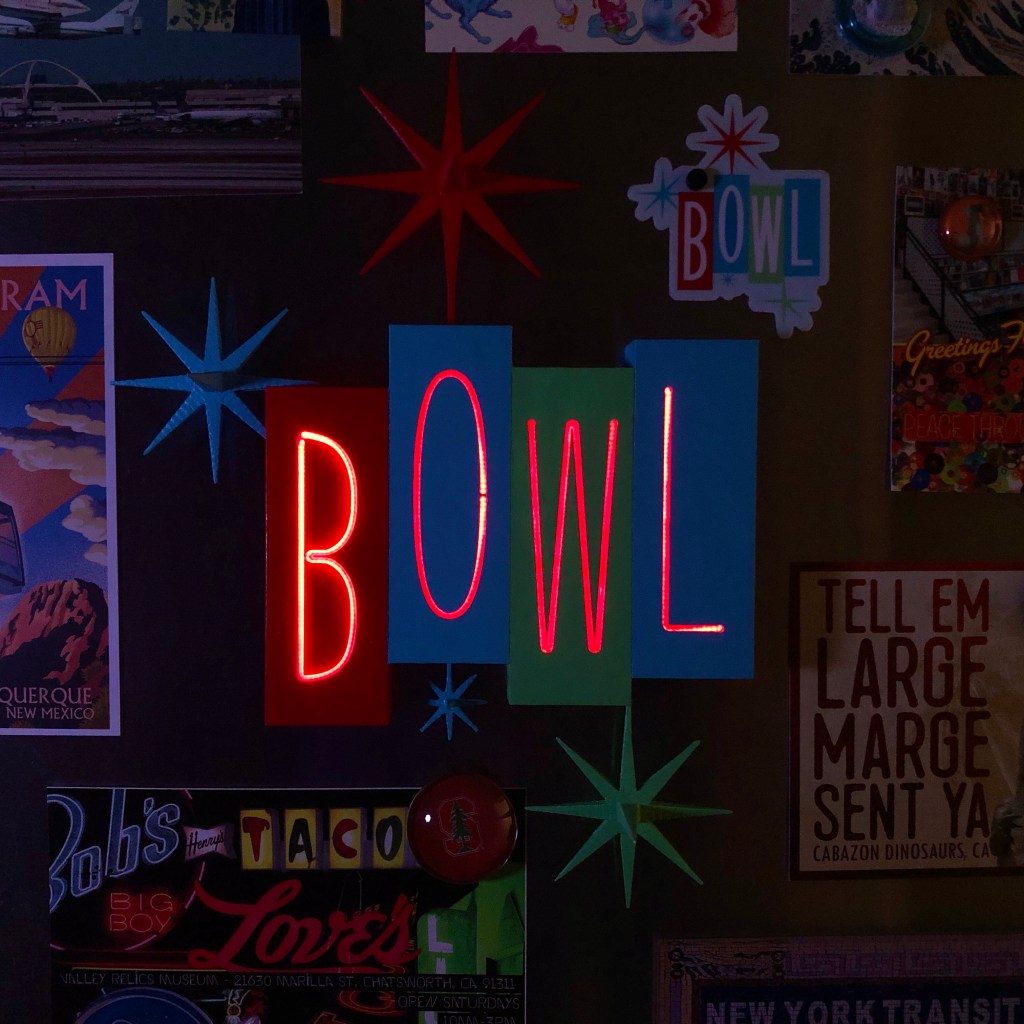
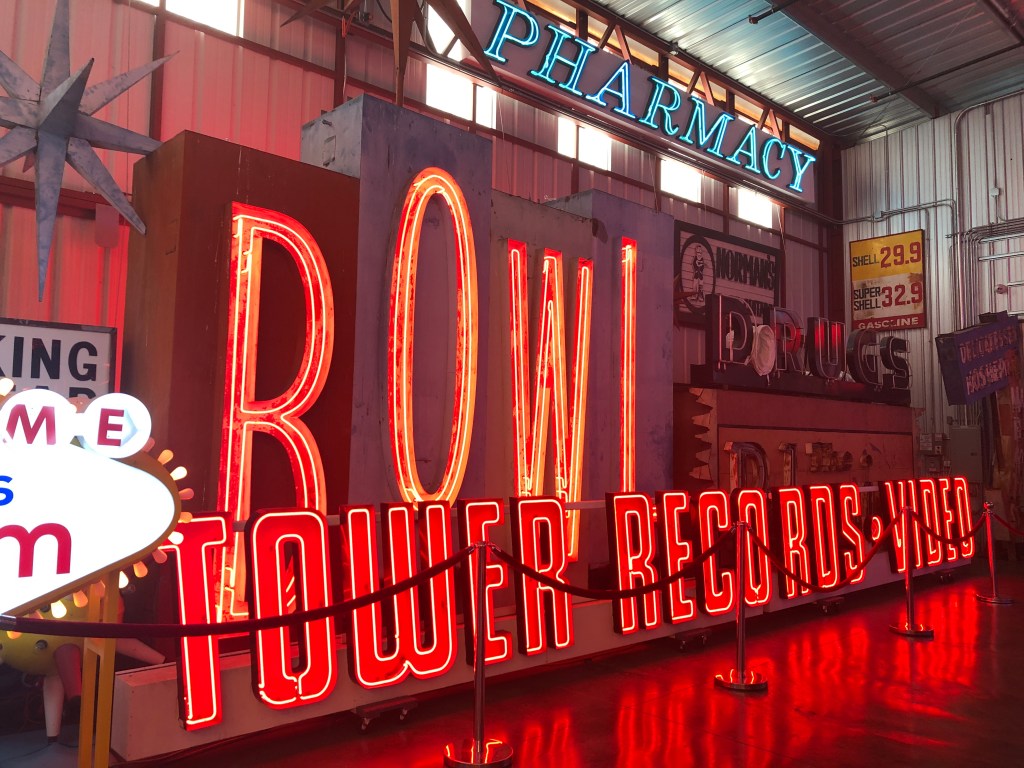
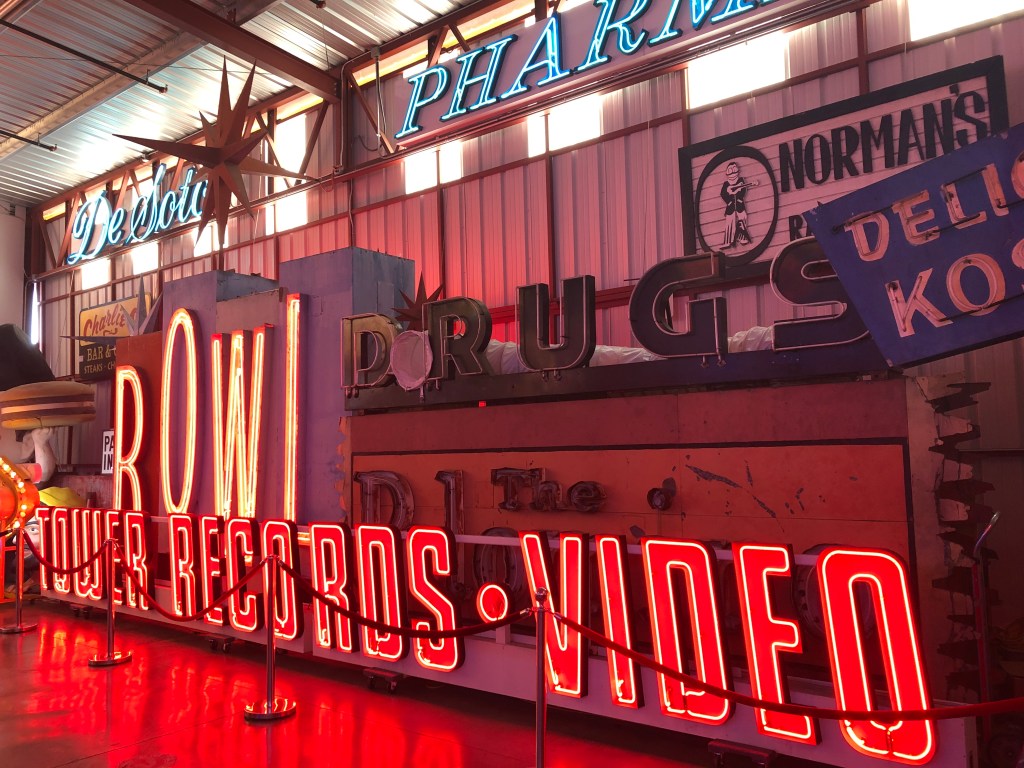
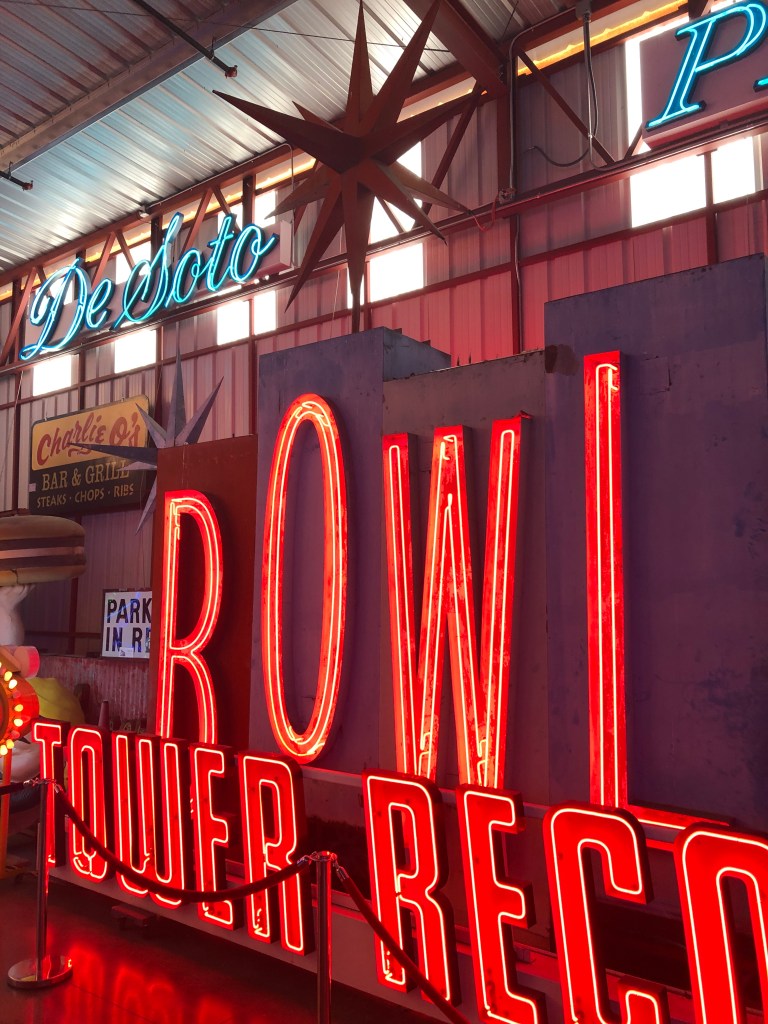
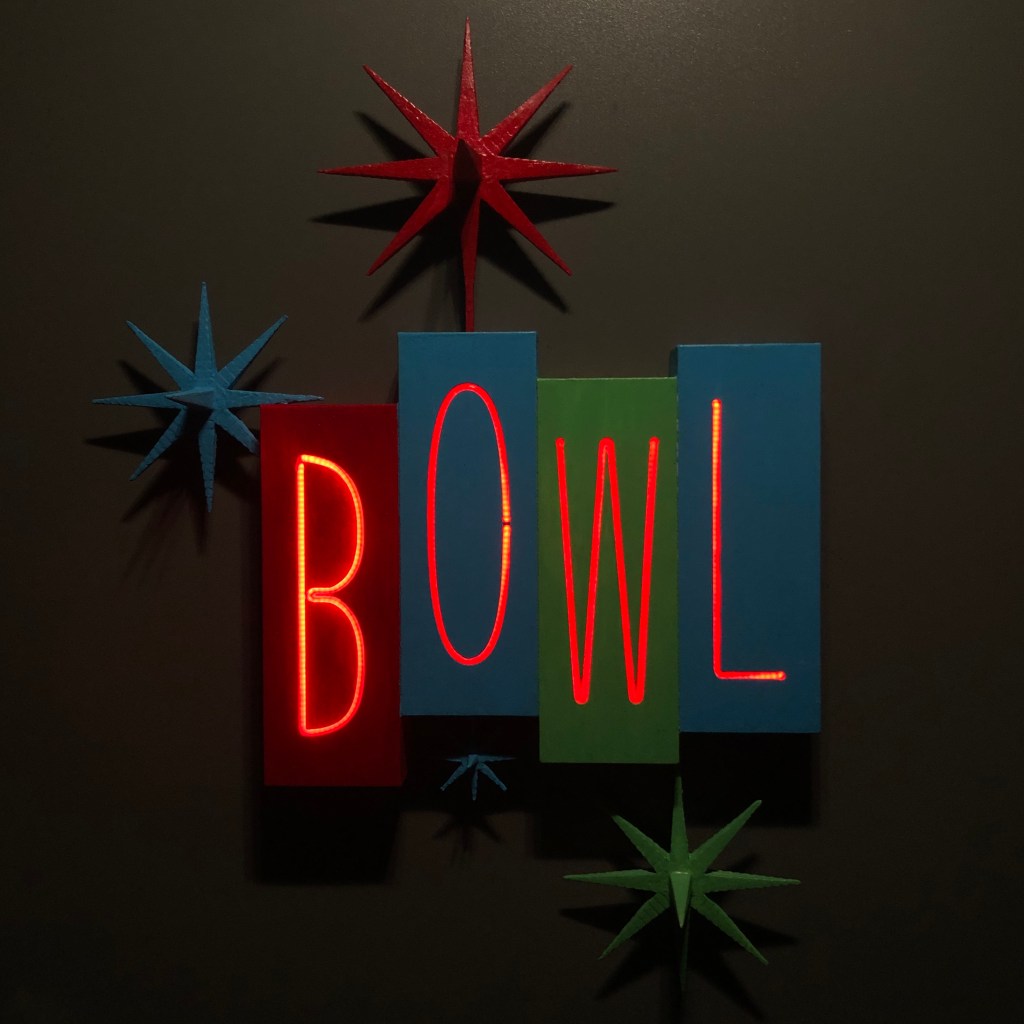
This 3D-printed magnetic sign is based on the neon sign for Premiere Lanes in Santa Fe Springs, CA. The bowling alley closed in 2008 and was later demolished. Fortunately, the sign was preserved and is now on display at Valley Relics Museum in Van Nuys, CA.
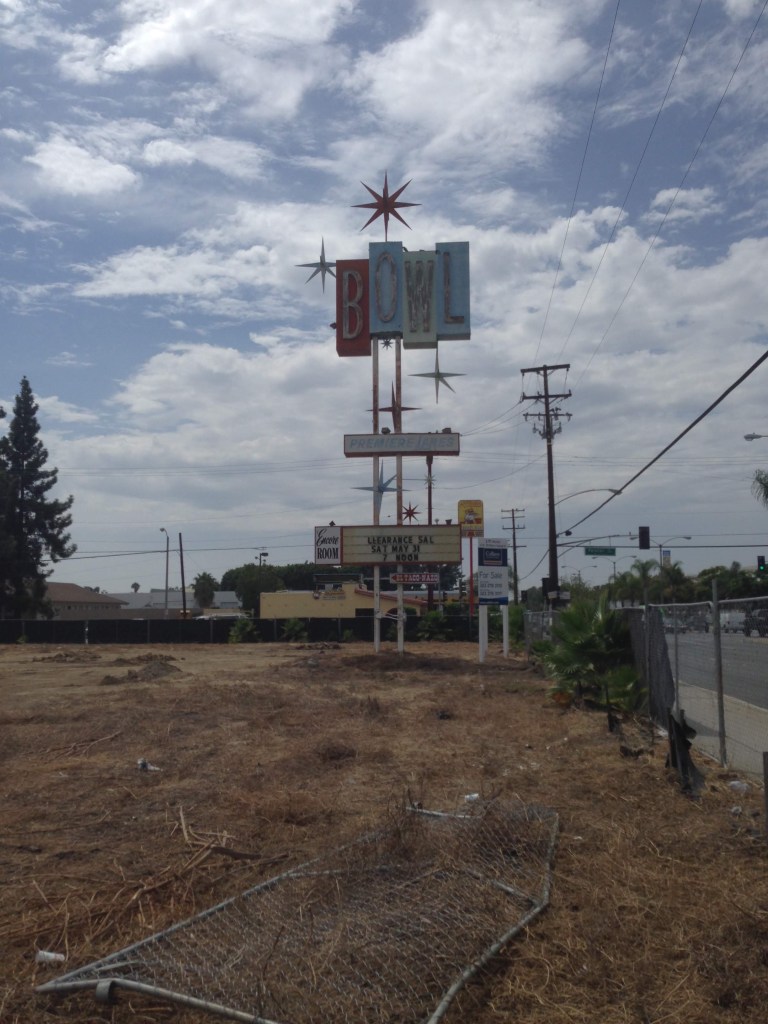
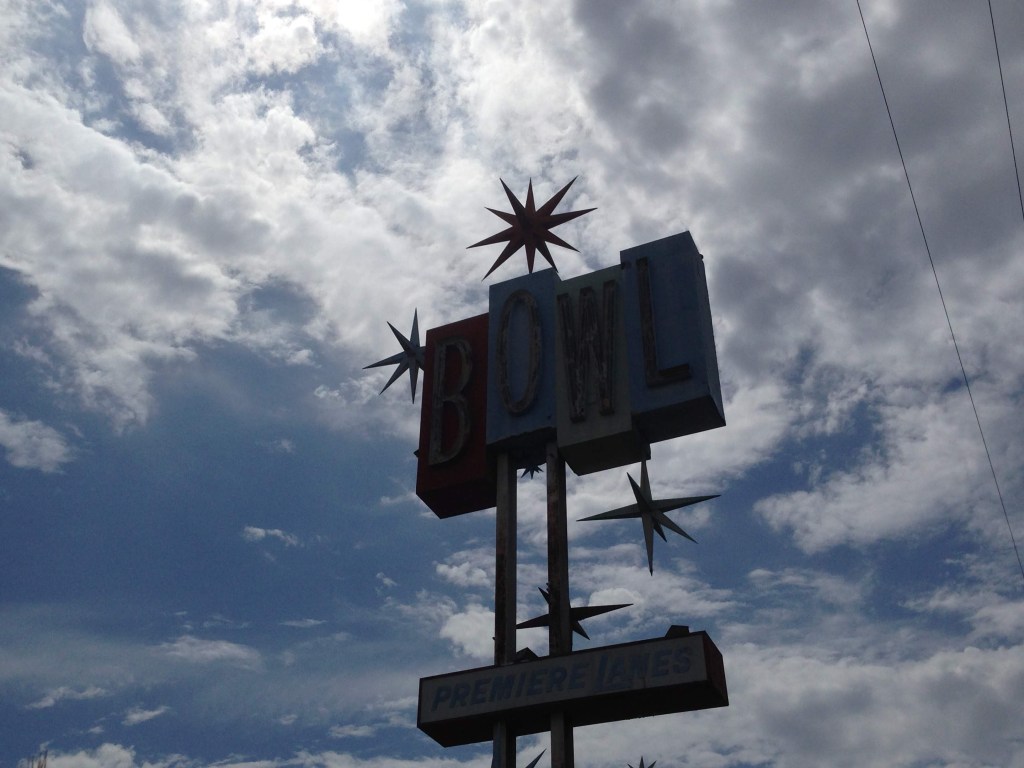
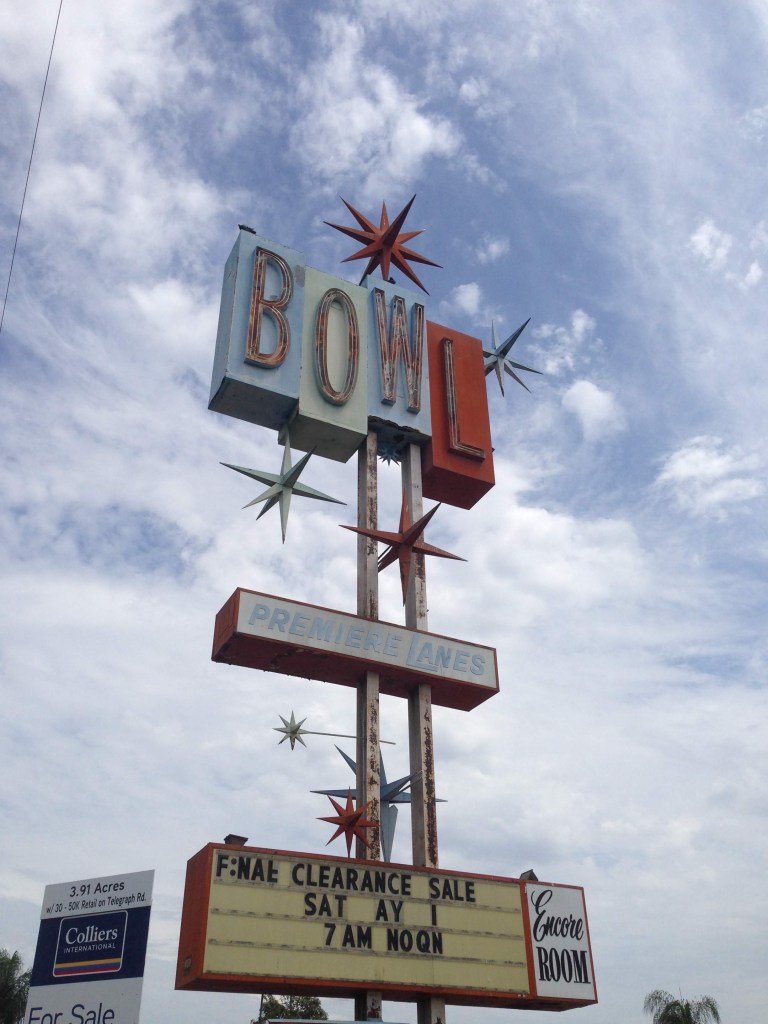
The sign was left standing in the vacant lot for several years after the bowling alley was torn down. Even though it rusted and weathered over the decades and its starbursts lost some points, the sign is a great example of mid-century Googie architecture.
Sign Build
I have made signs using electroluminescent wire before, but EL wire has its downsides when making faux neon. EL operates using alternating current, so projects require an inverter to use the DC power of batteries. Many kits integrate the inverter into the battery pack, but this makes the battery packs clunky and the inverters can emit a high-pitched whine.
For this project, I decided to use flexible LED noodles to create the neon letters. These operate like elongated LEDs: hook up a battery to the anode and cathode and it lights right up. Using direct current minimizes wiring and I can power the project directly using two 3V coin cell batteries. However, the noodles also have their downsides. They can’t be trimmed down from their nominal length (though they can be wired in series) and there are limits to how much they bend. EL wire can bend in essentially any direction, while LED noodles can only bend one way. The noodles can be twisted axially—with limits—which allows for more complicated shapes, but they are not completely flexible.

Each letter in BOWL used its own 300mm long noodle that was wired to the 6V battery pack. This limited the size of the build since the W would require the longest noodle, and each stroke of the W could be, at maximum, about 75mm. I printed a prototype of the front of the sign to double-check the fit of the noodles in their channels.


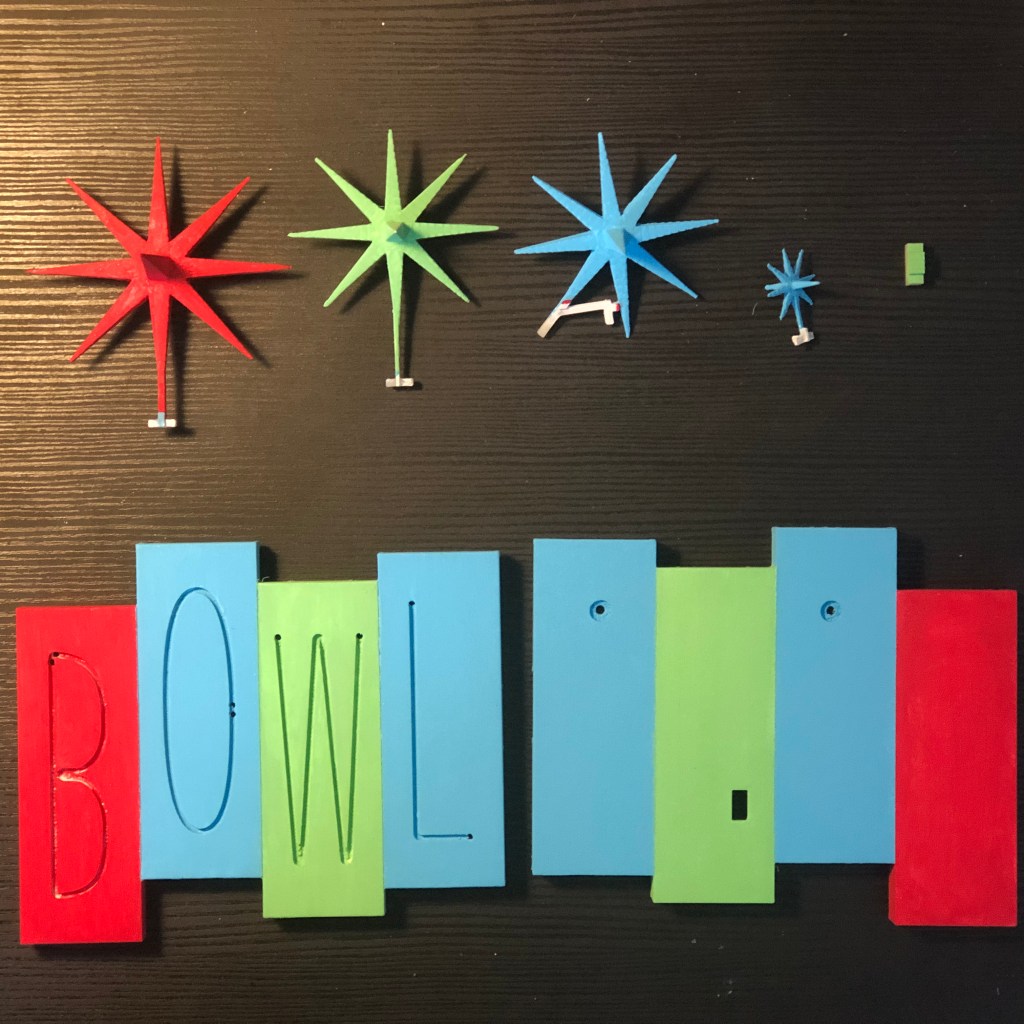
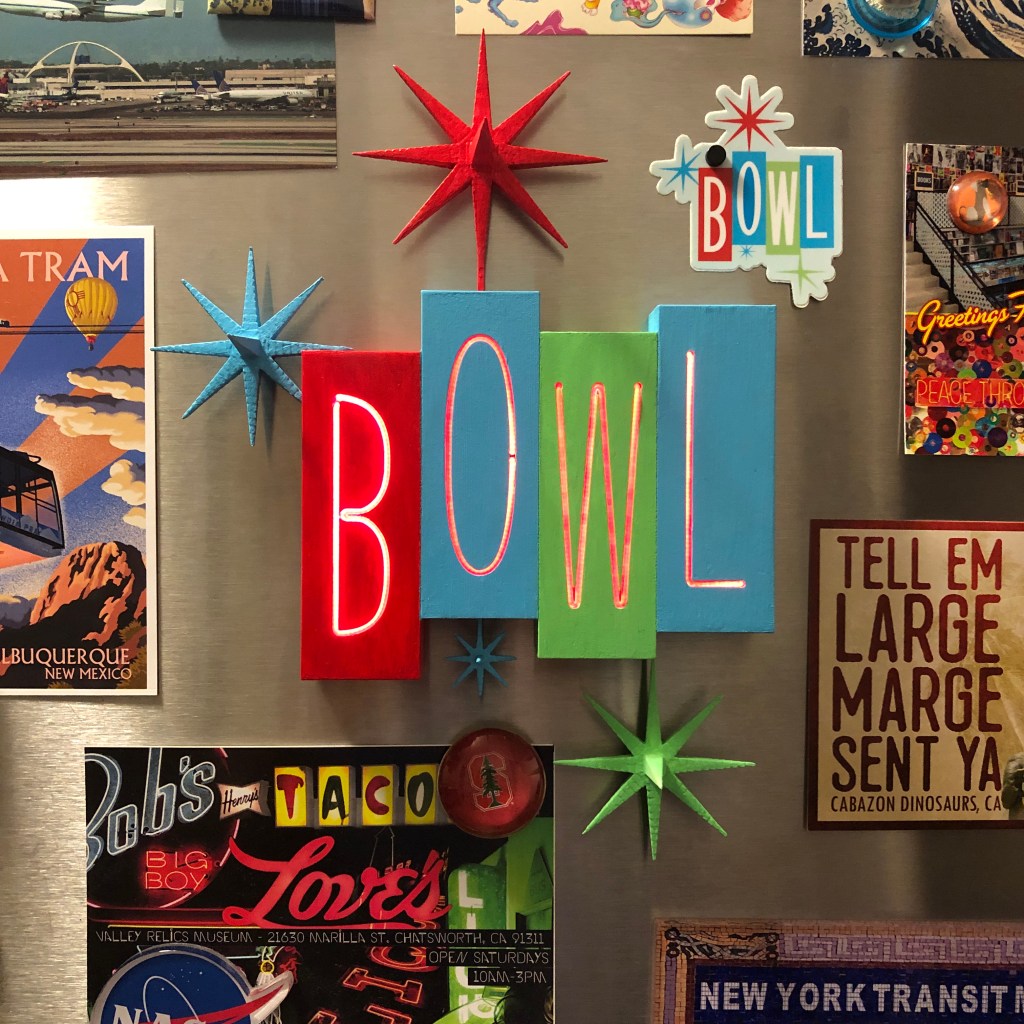
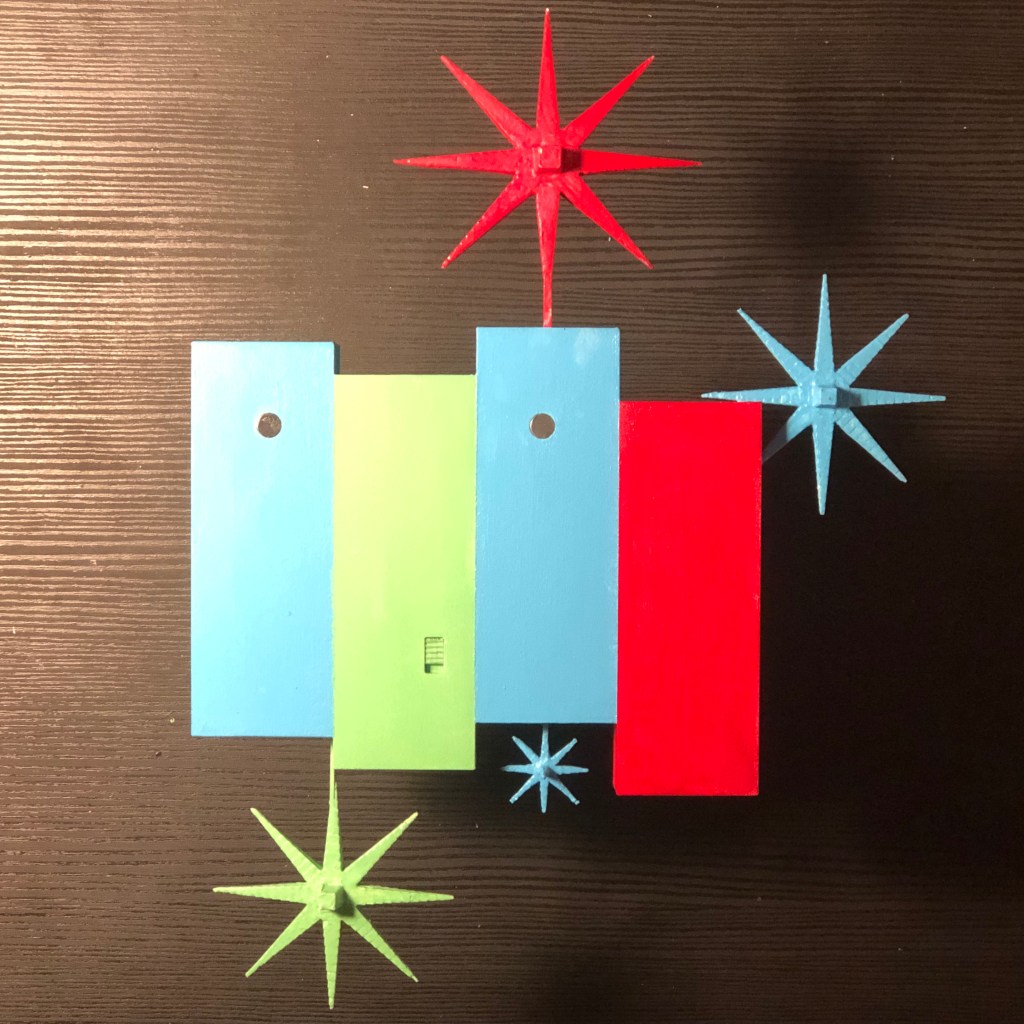
After a few minor tweaks to the CAD files, I printed all the parts. The layer lines were quite prominent in the starbursts, so I sanded and used some wood filler to smooth out their surfaces a bit. I sprayed primer on all the parts and then hand painted the different colors. The stars and magnets are held in place with superglue. I also painted the front interior panel black to minimize light leakage from the noodles.
The wiring and soldering process is identical to this project by the Ruiz brothers. All four noodles are wired in parallel directly to the battery pack using a JST cable. The wires easily fit inside the sign body. The battery pack fits into the back interior and the switch is accessible from the back.
For the STL files and a parts list to make your own, please visit my Thingiverse.
